Extraction Agent Quick Start Guide
Getting Started
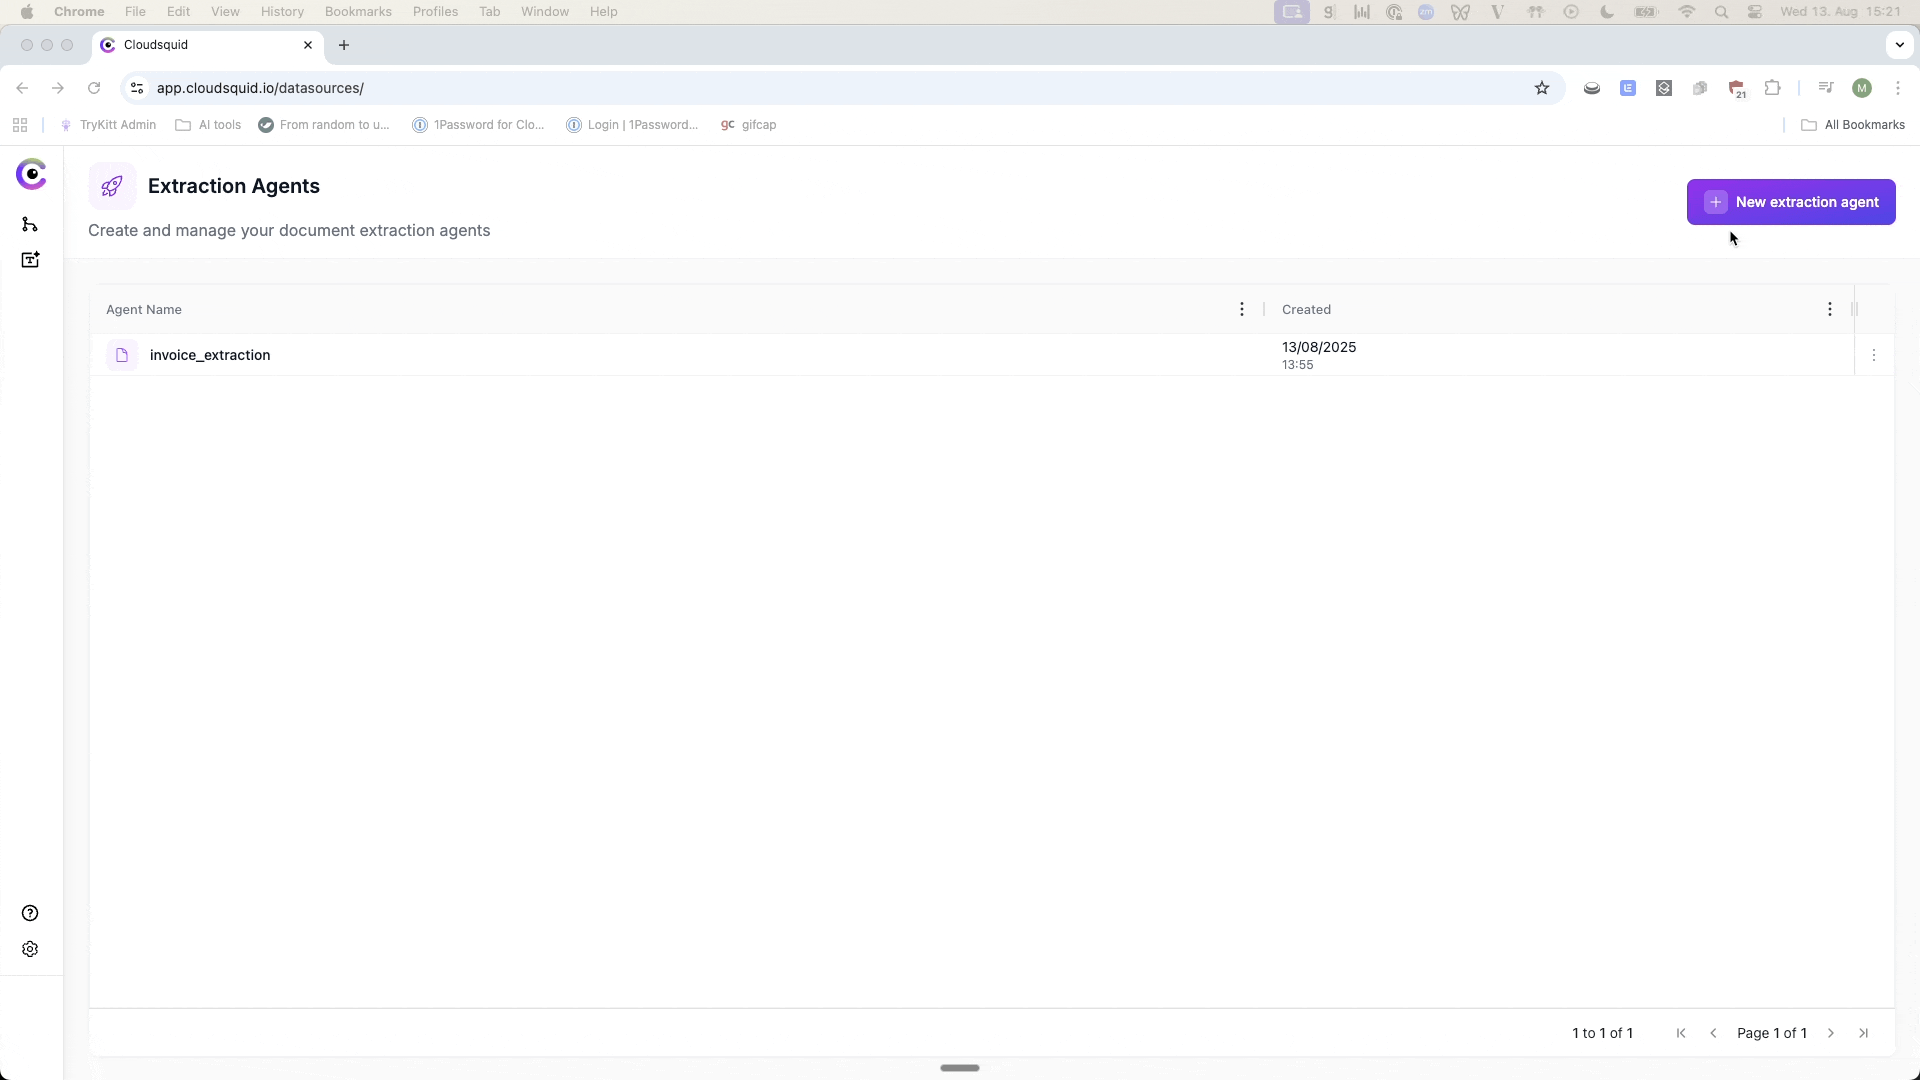
Sign up for a free Cloudsquid account (no credit card required) and follow these steps to start extracting and automating your document workflows.1. Create a New Extraction Agent
All processing in Cloudsquid starts with an Extraction Agent.- From the dashboard, click New Extraction Agent.
-
Give it a name and click Create.
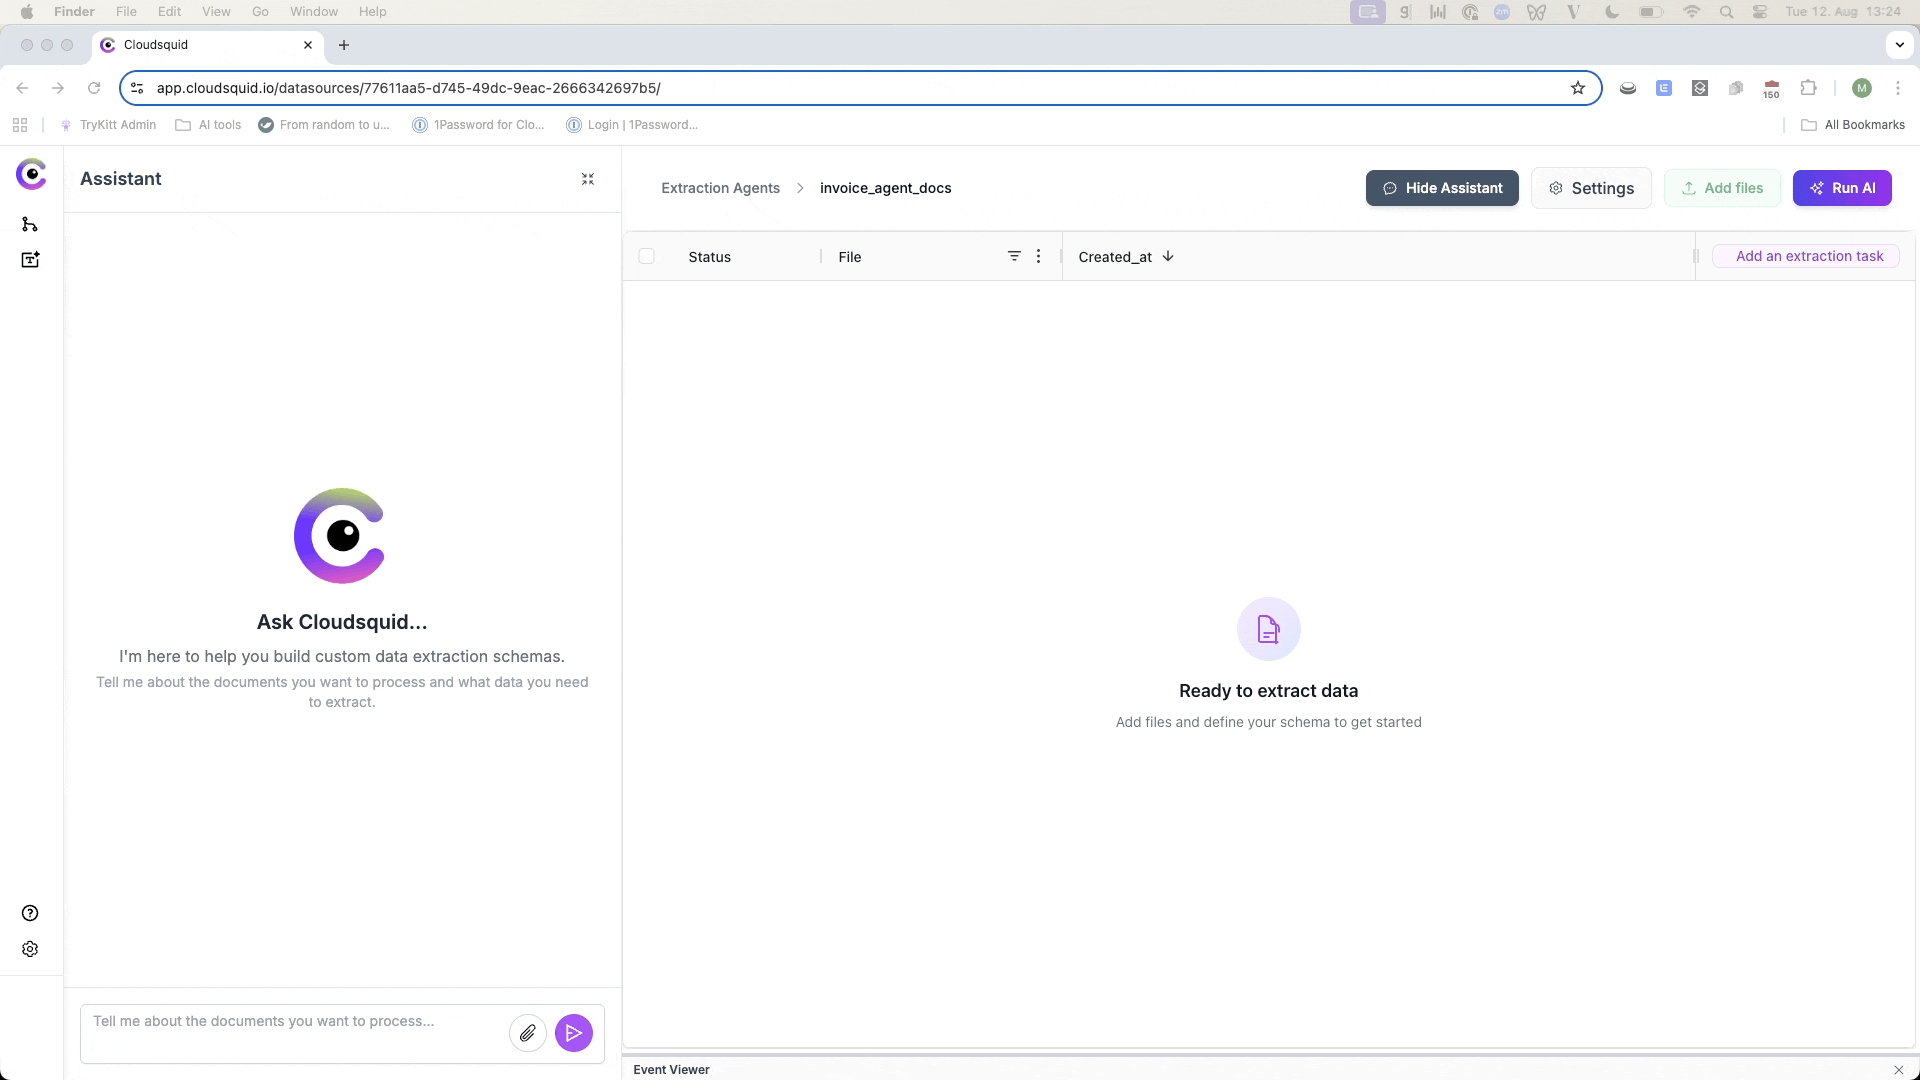
- You’ll be taken into the extraction table interface with the Document Co-Pilot on the left and your table in the center.
2. Upload Files
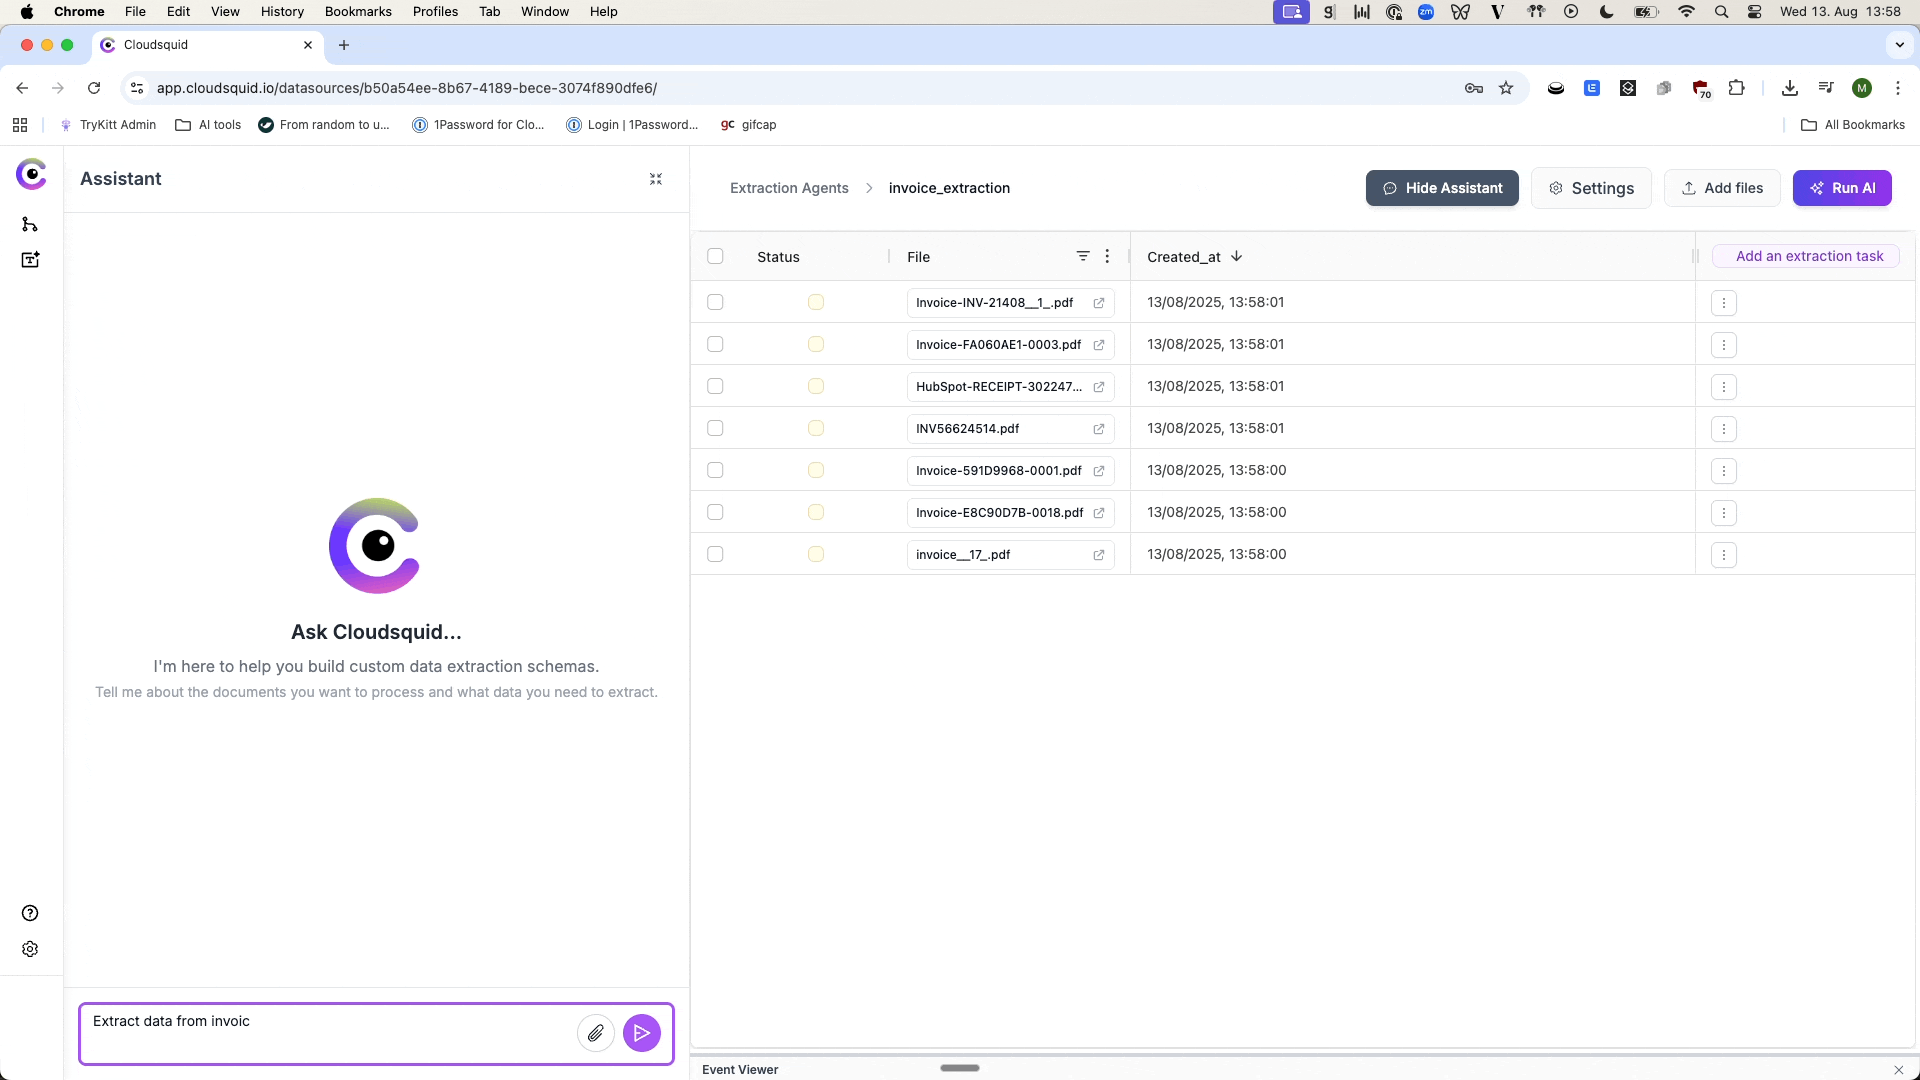
The best way to start is by adding files to your table:- Drag and drop files into the center of the table, or
-
Click Add Files to select them from your computer.
- API Upload – Send files directly via the API.
- Workflow Builder Connectors – Add files automatically from integrated systems (covered later).
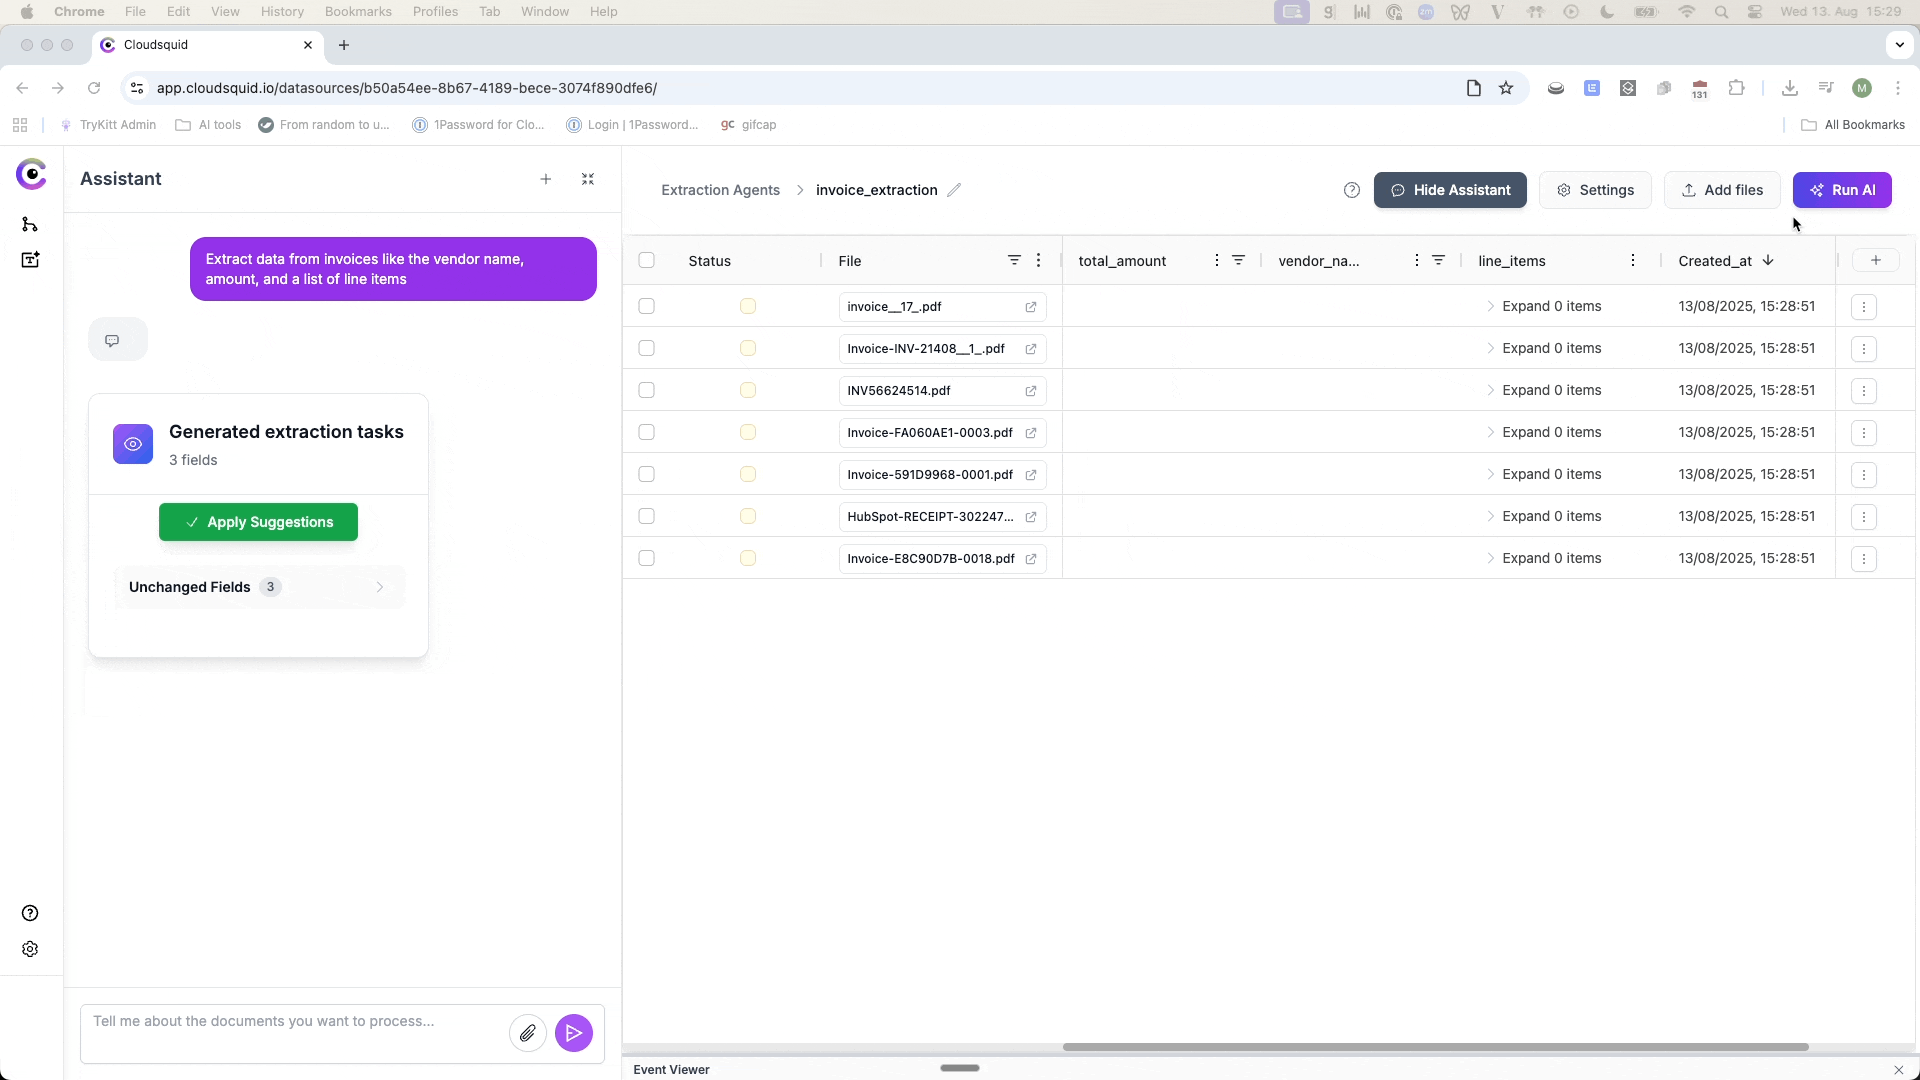
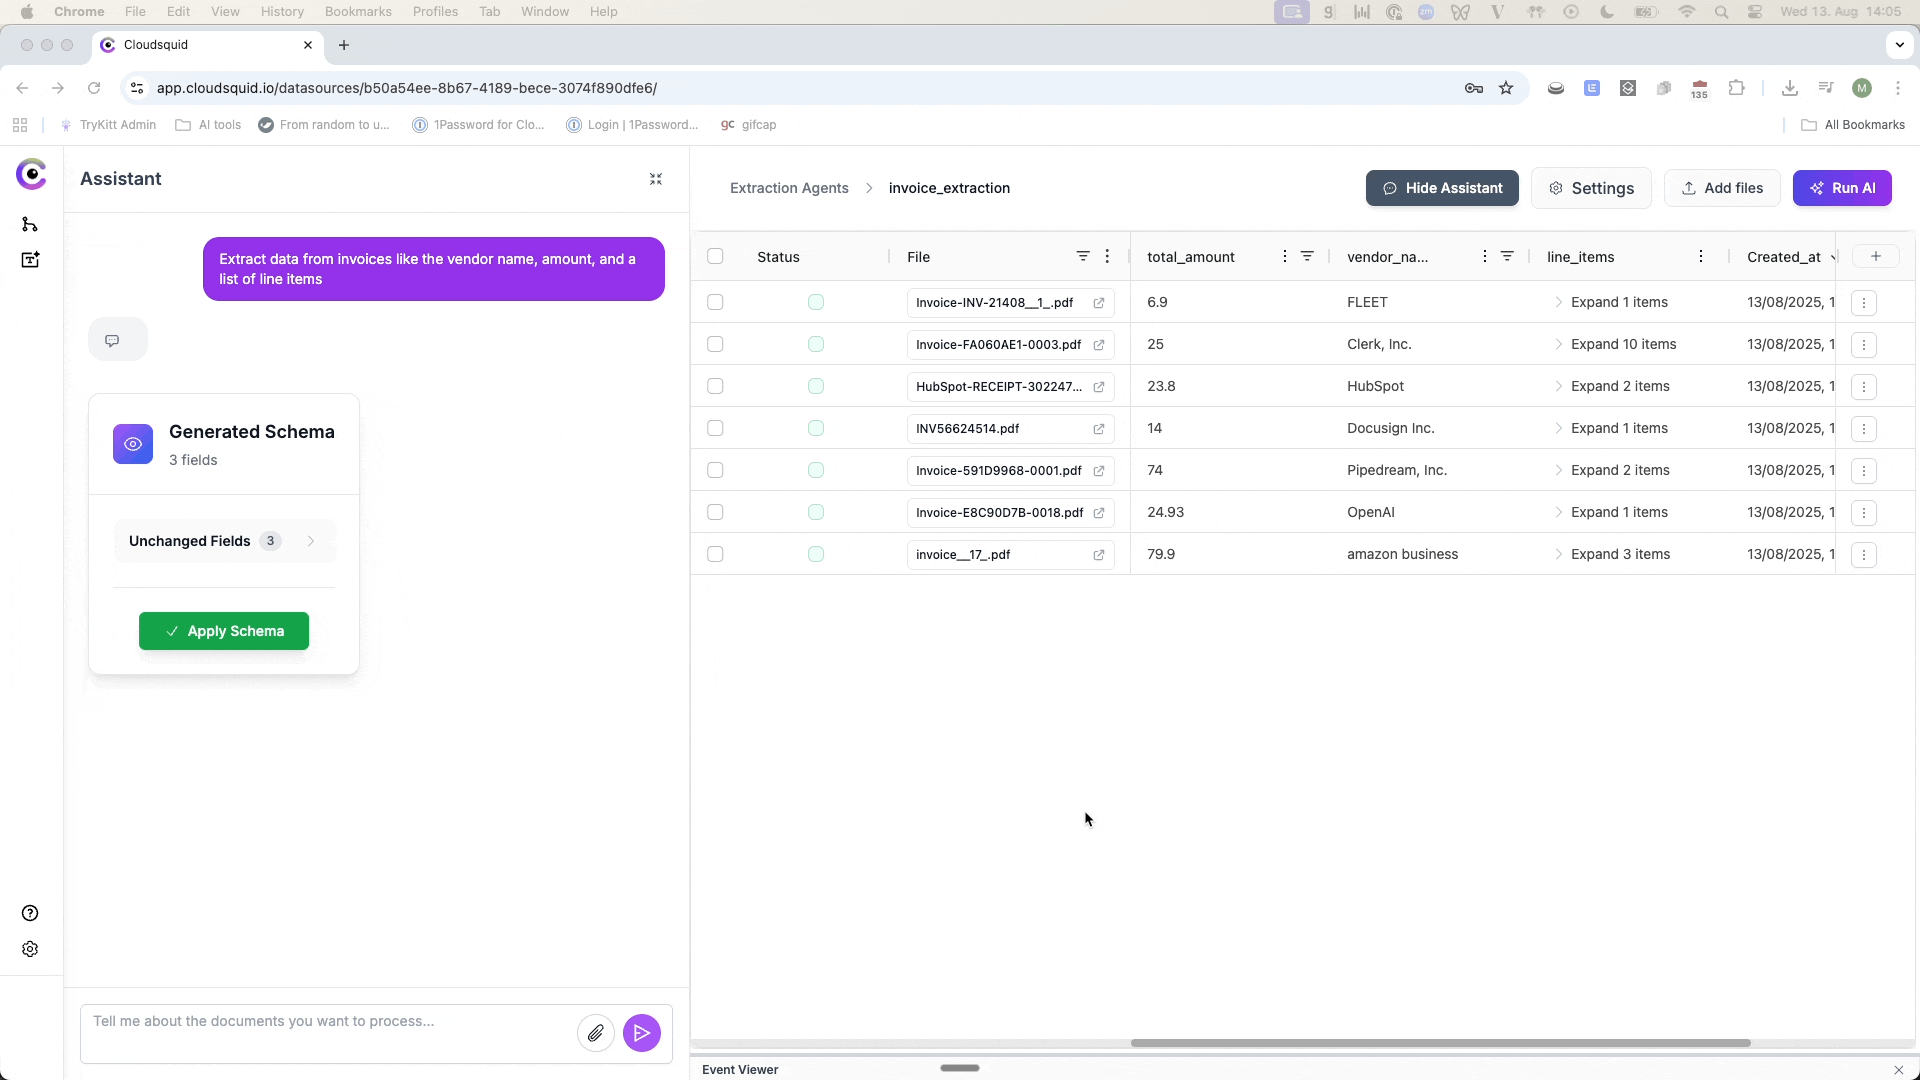
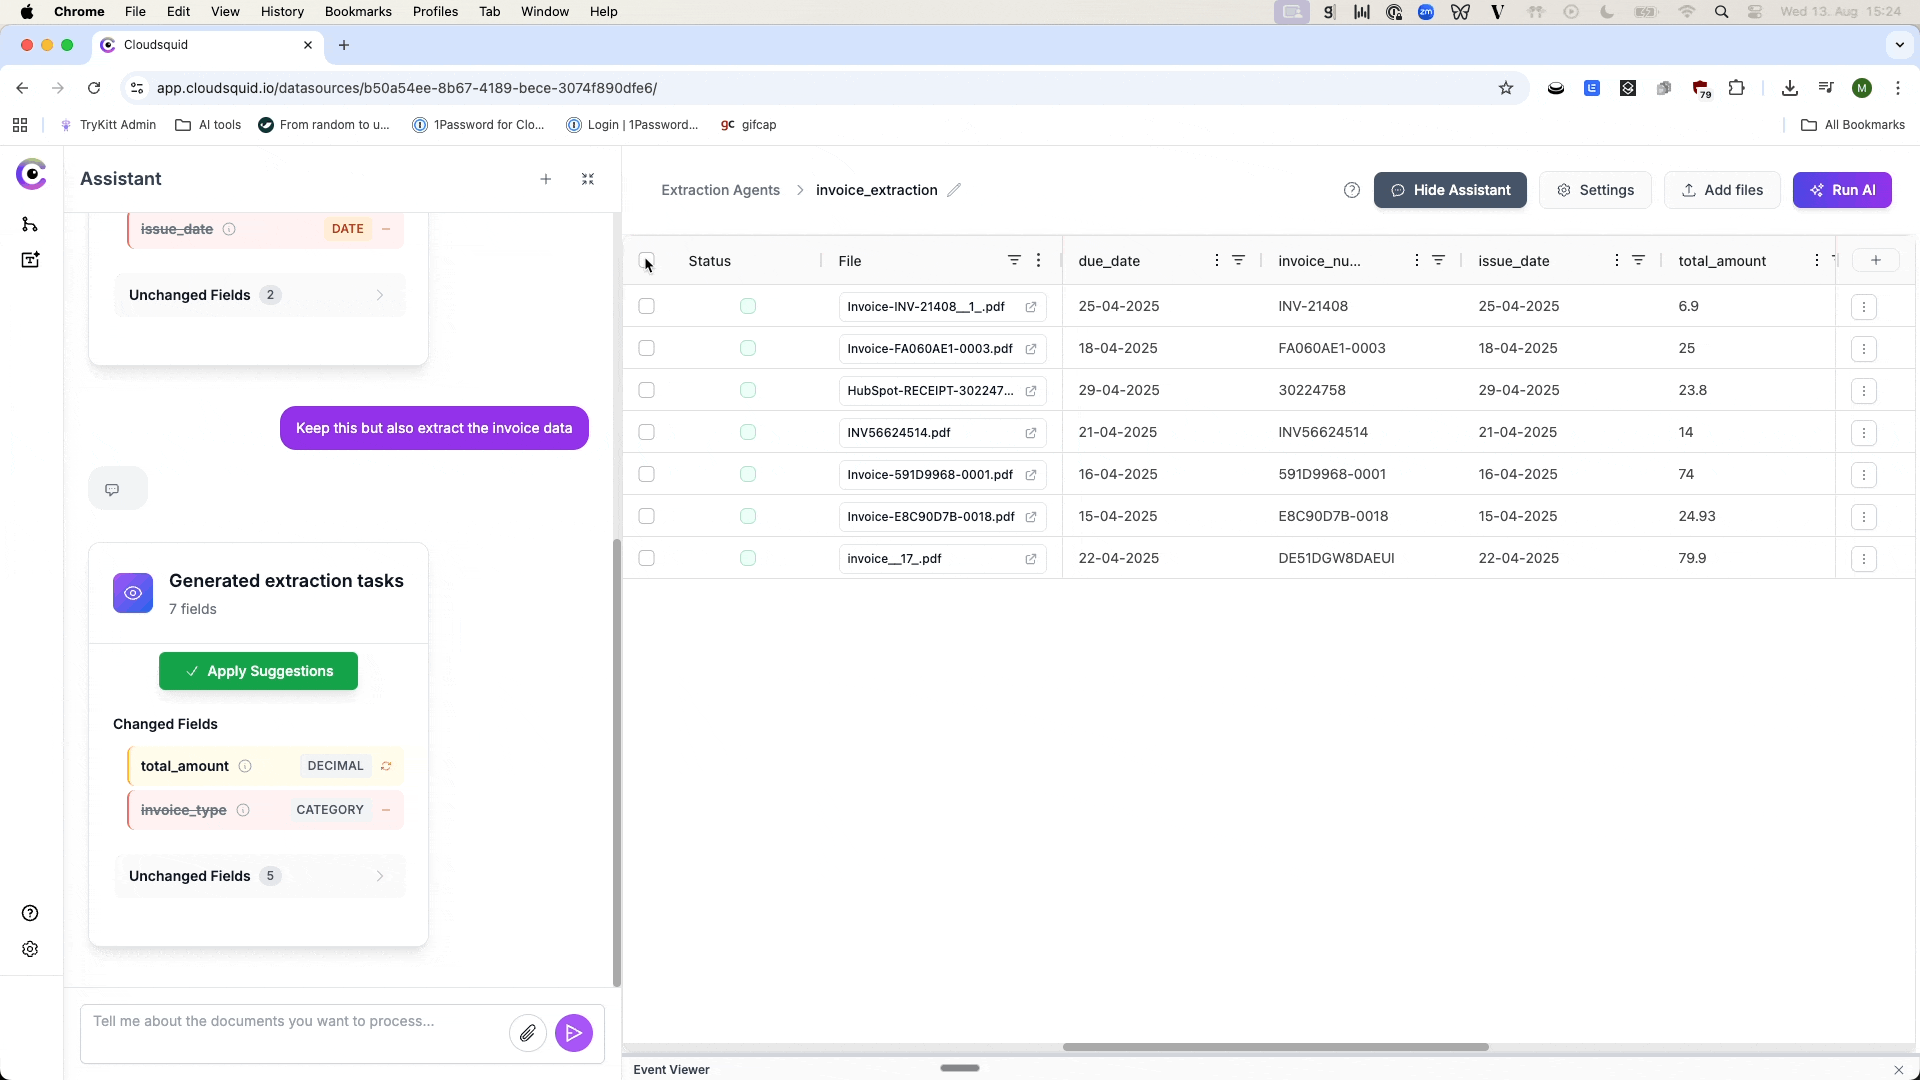
3. Define Your Extraction Schema with the Assistant
On the left-hand side, the Document Co-Pilot is ready to help you:- Describe the task or job you want to perform on your uploaded files.
- The assistant reads your files and your description, then proposes extraction tasks (columns) for your table.
-
Click Apply Schema to add these tasks to the table.
4. Run Your First Extraction
- Select one or more files in the table.
- Click Run AI to process them.
-
Extracted data appears directly in the table.
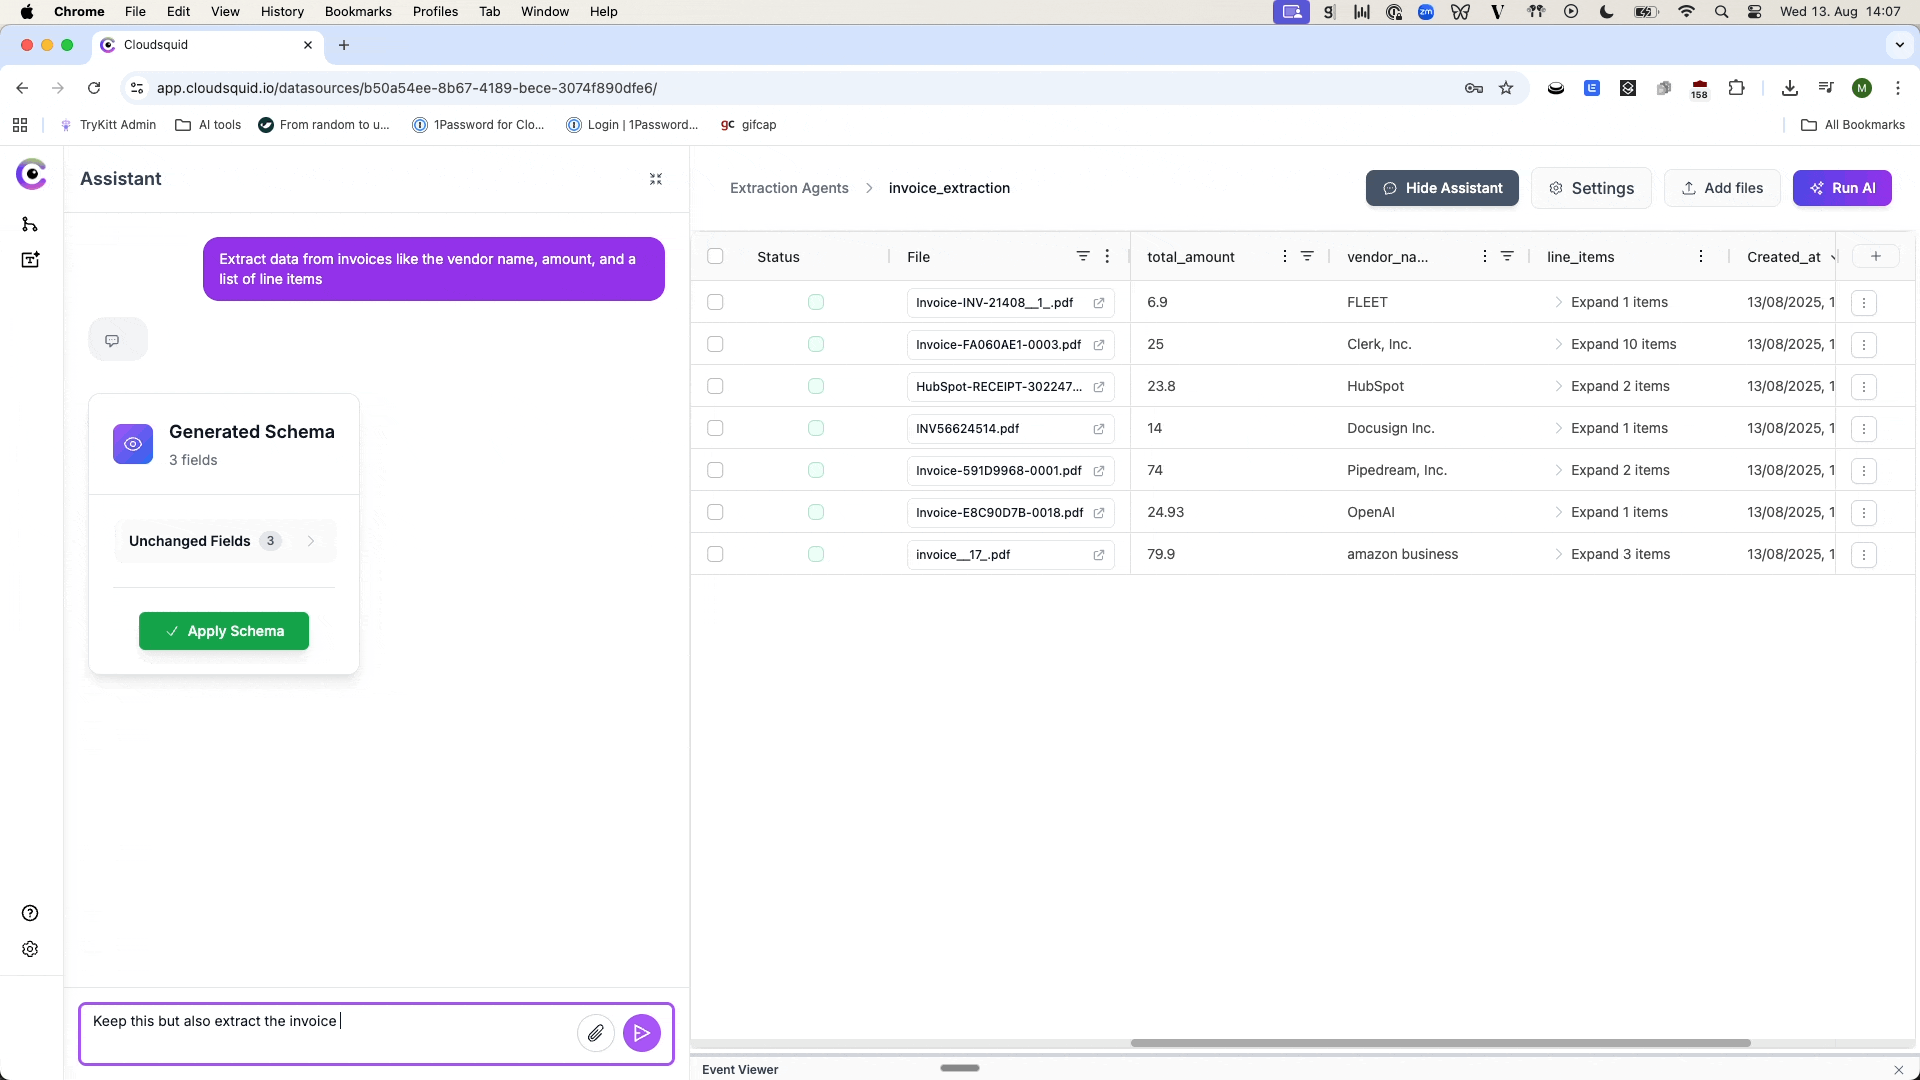
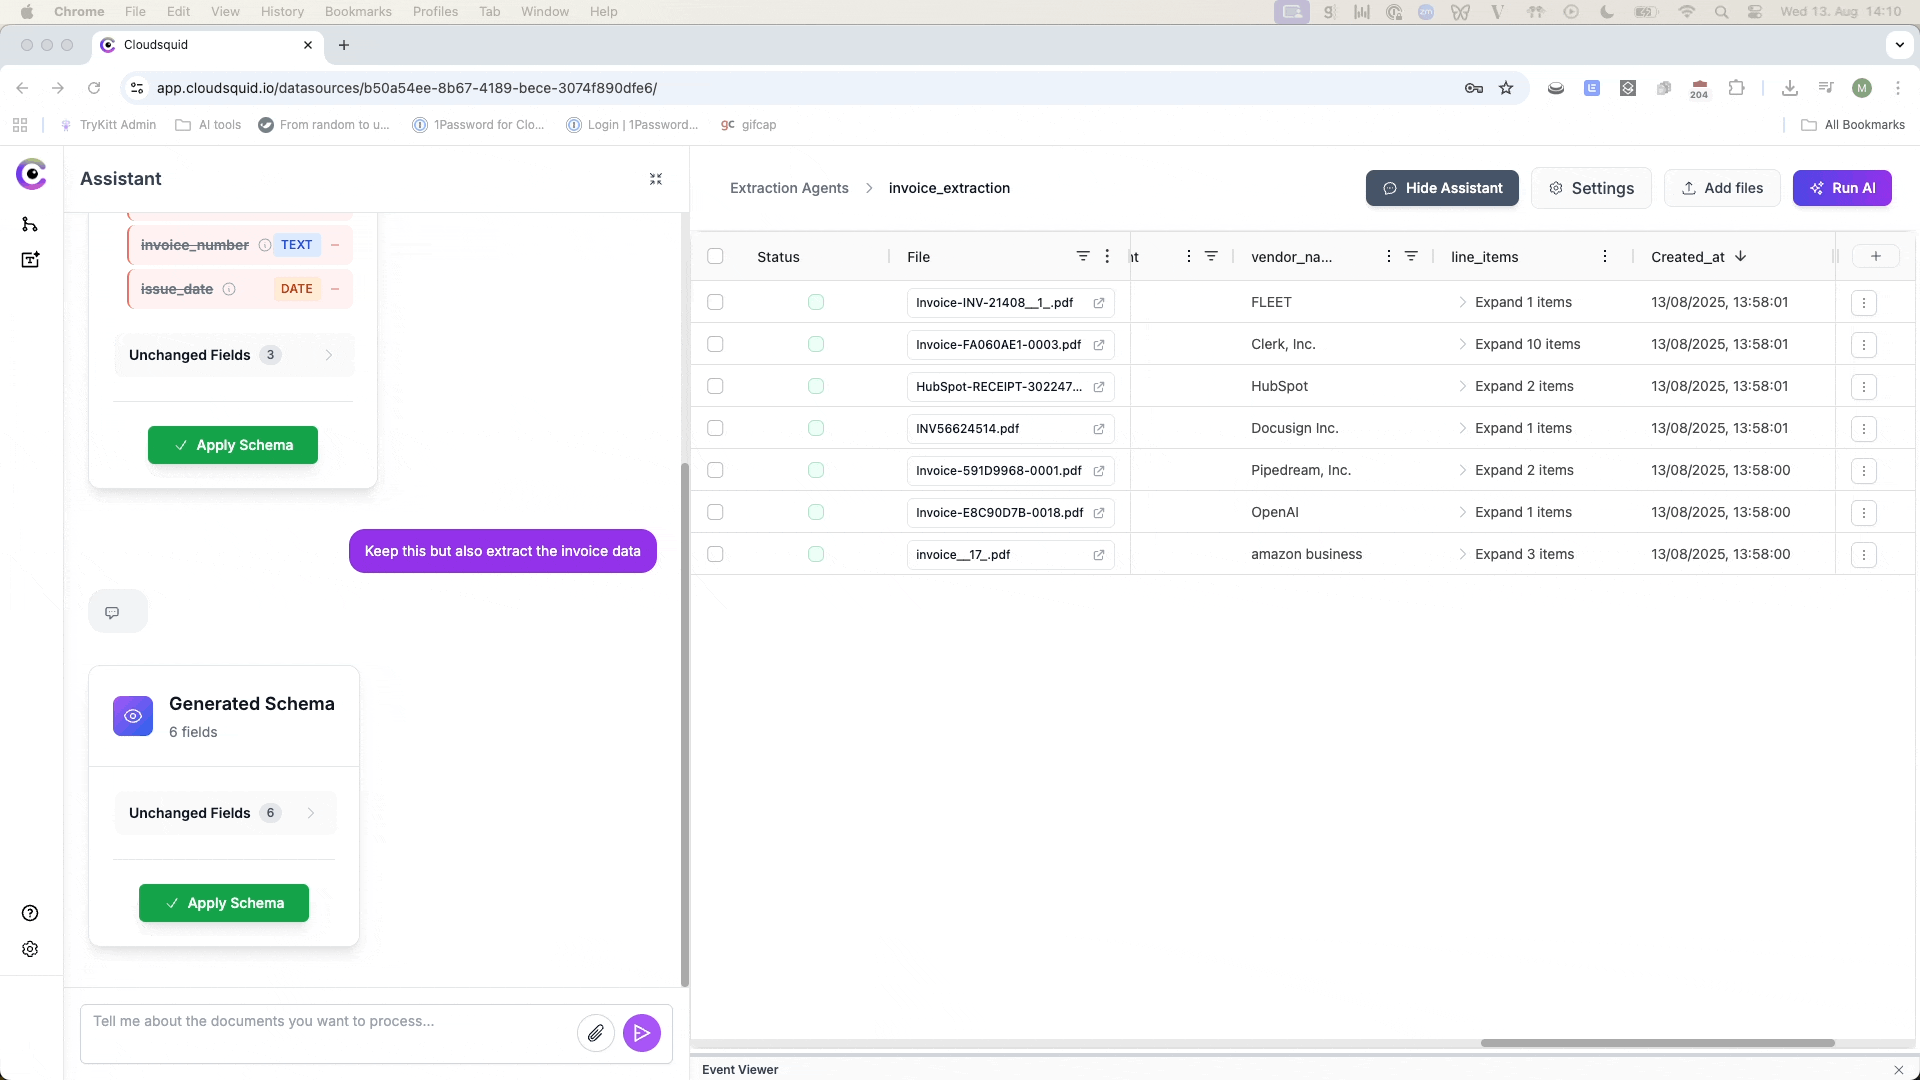
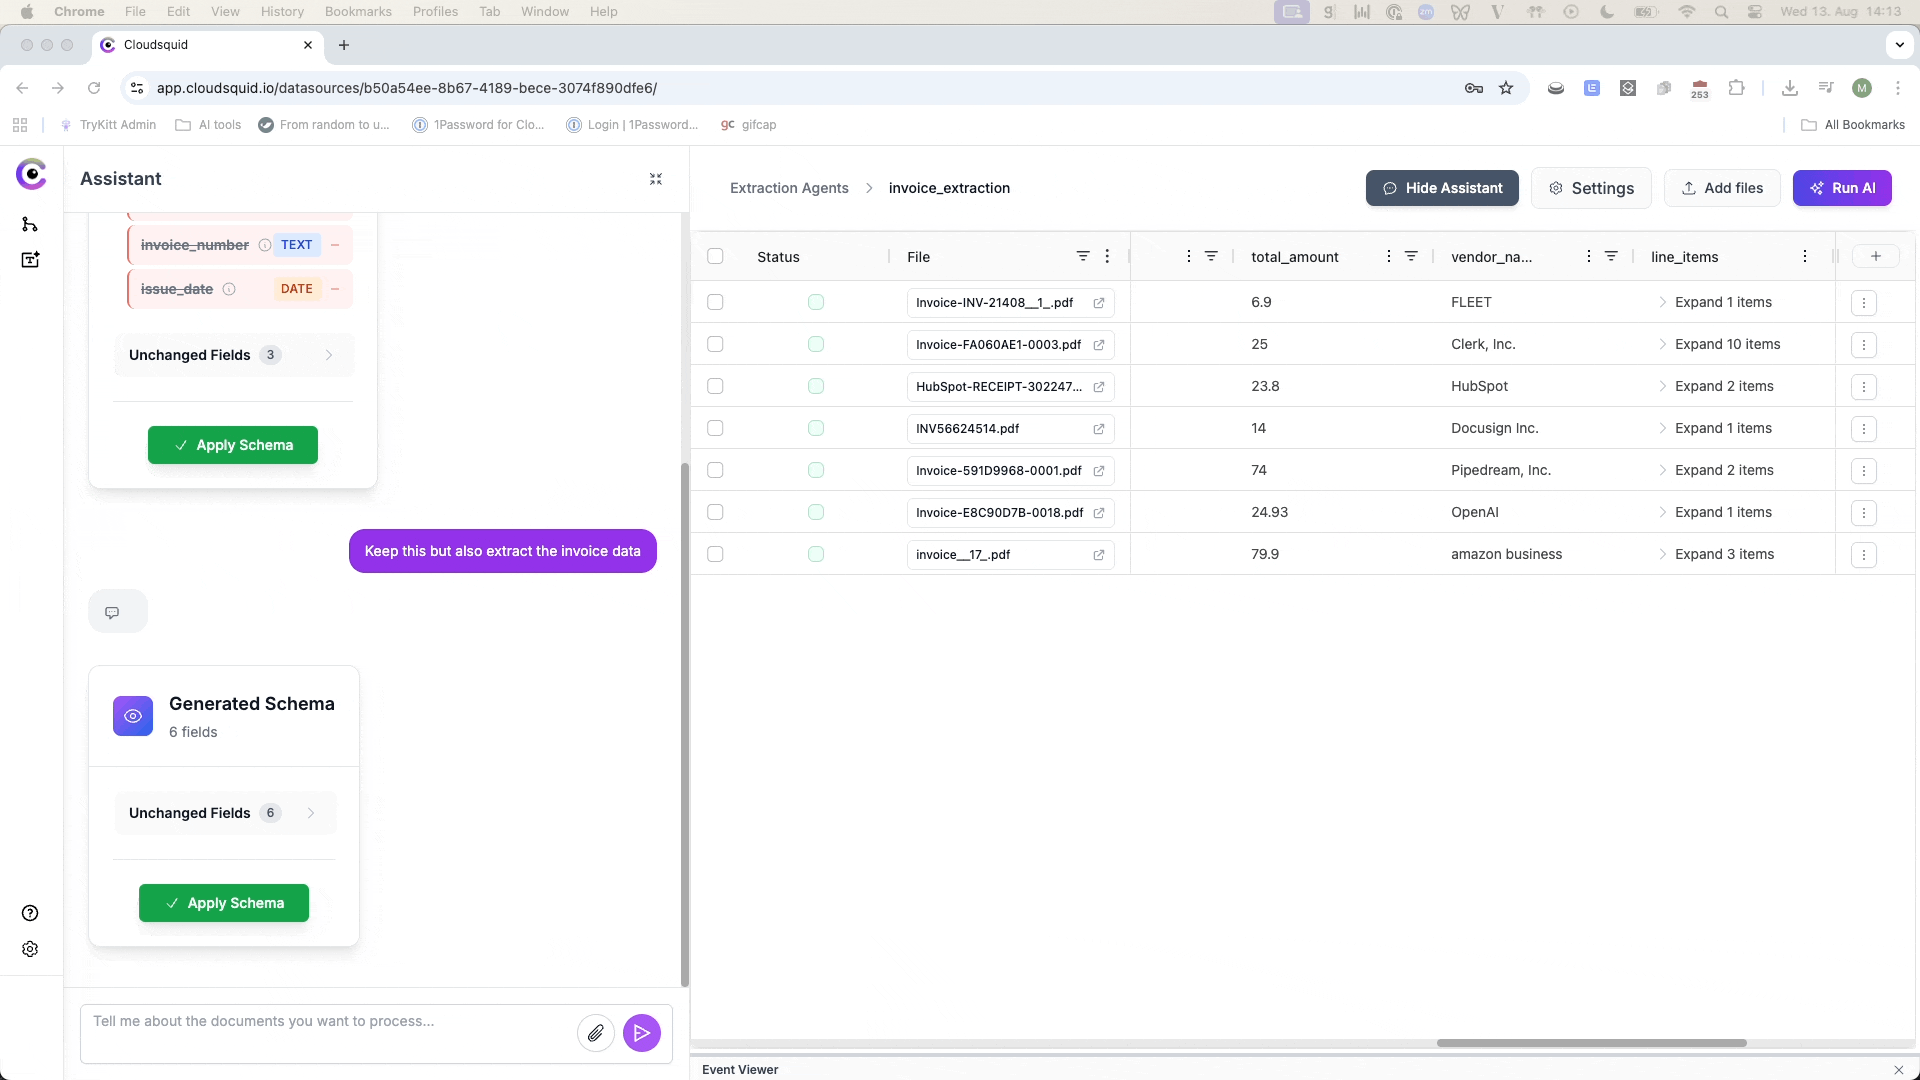
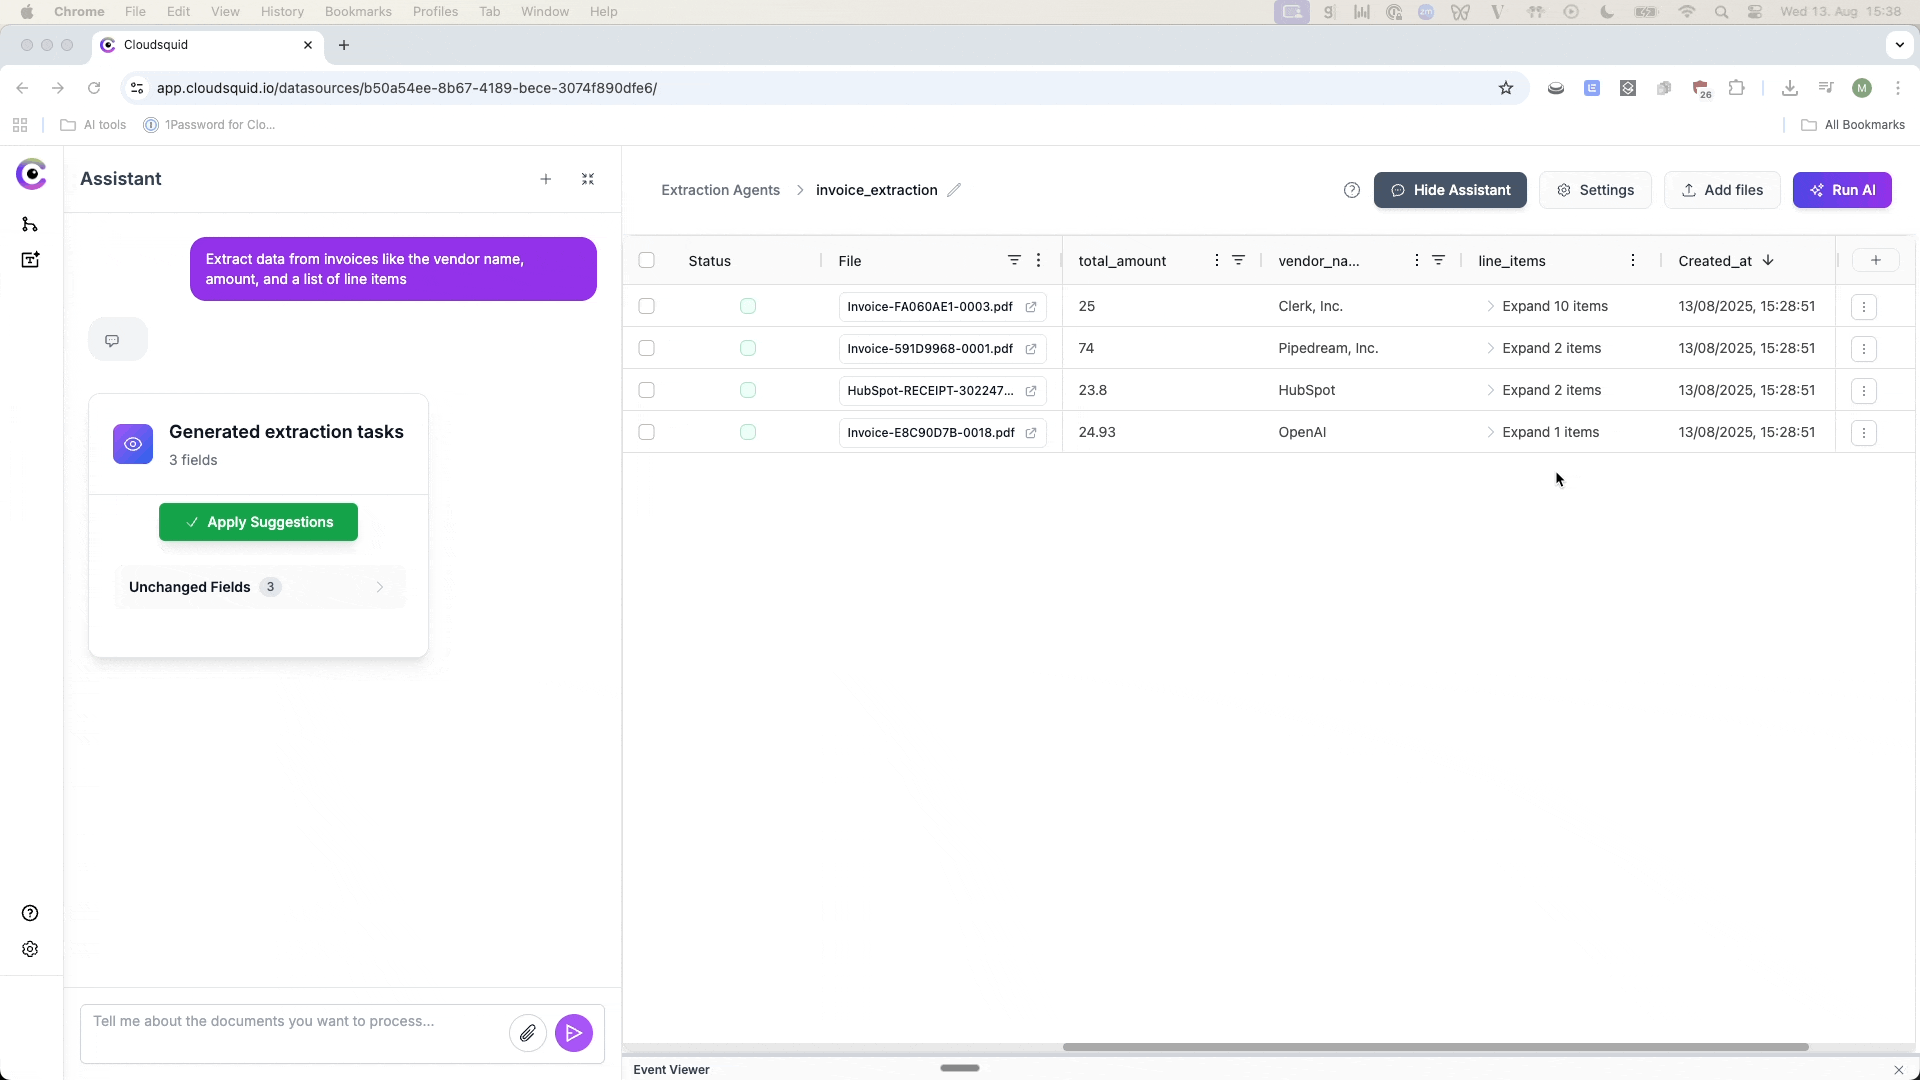
5. Review and Refine
You can check and improve your extraction results in several ways:-
Use the File Viewer – View the original file alongside the table data.
-
Iterate with the Assistant – Ask it to add, remove, or adjust tasks.
-
Manual Adjustments –
-
Click Add Extraction Tasks to create new columns.
-
Use the 3-dot menu on a column to edit an existing task.
-
Click Add Extraction Tasks to create new columns.
-
Run AI after edits – Select the range of files you want to re-extract data from after making adjustments to the columns
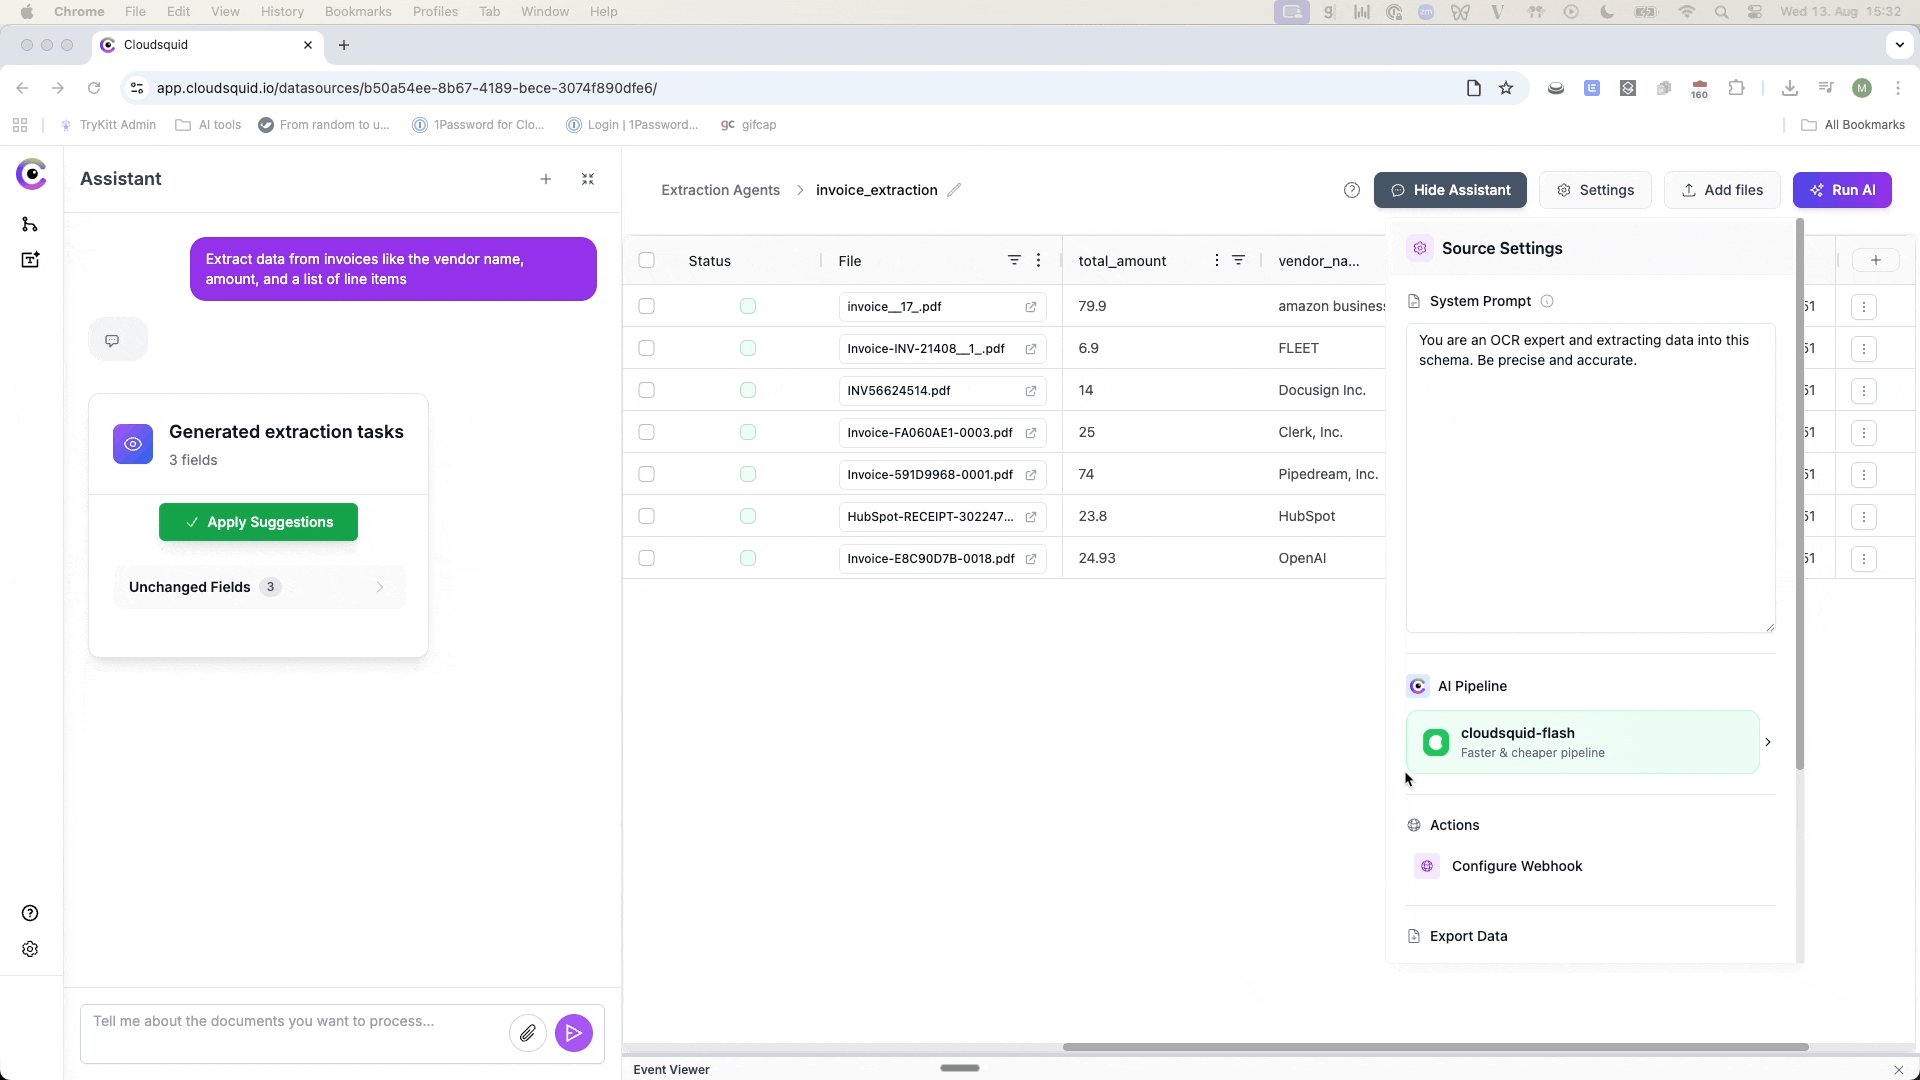
6. Additional Features & Tools
-
System Prompt – In the settings, adjust the high-level guidance you want the AI to follow across all extractions.
-
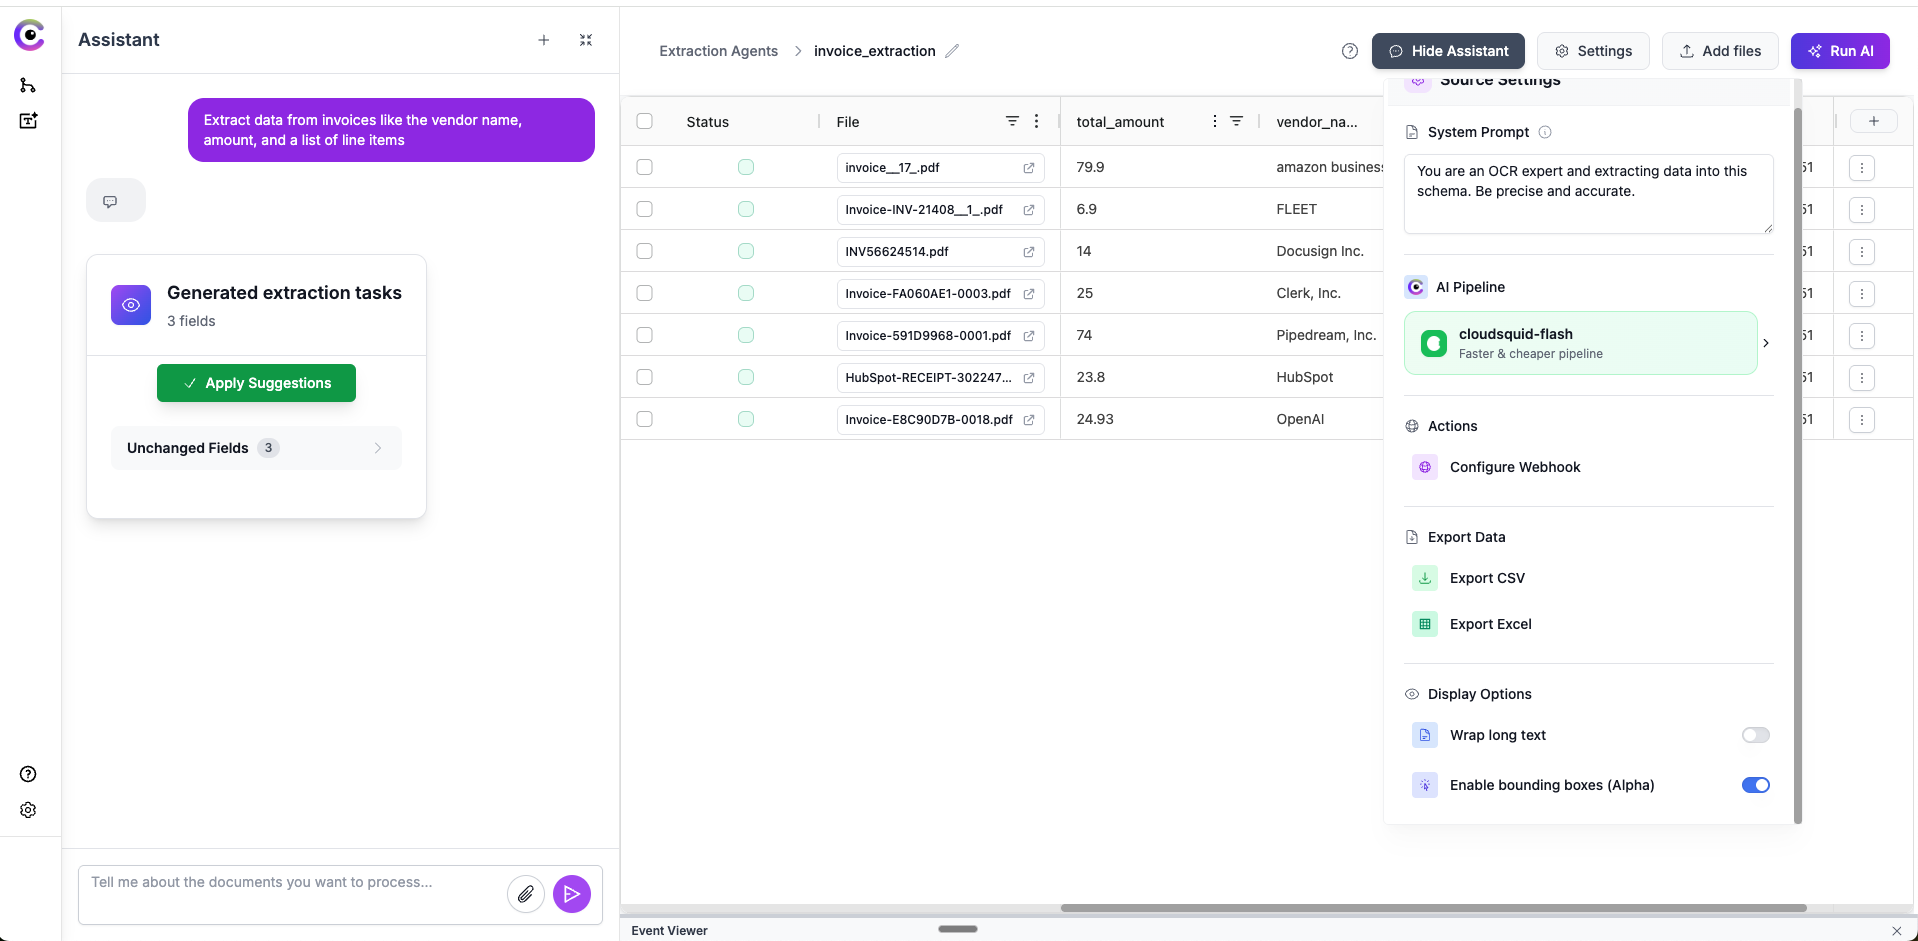
Bounding Boxes (New) – Enable this to highlight the exact location in the source document for any extracted value.
-
Useful for auditability, but may be slower for AI runs and is still in beta.
-
Useful for auditability, but may be slower for AI runs and is still in beta.
-
Bulk Actions – Select multiple files, right-click, and choose Export or Delete.

-
Long Array Mode (Lists only) – Enable for very large lists to avoid context window limits.
7. Exporting Your Data
- CSV or Excel – Download your entire table or selected rows by selecting files and using the bulk actions.
-
Webhook Delivery – Send data to an endpoint of your choice for real-time integration with other systems.

8. Workflow Builder (Early Access)
The Workflow Builder is your automation hub in Cloudsquid, connecting your extraction tables to thousands of external tools and services. You can:- Import documents from sources like SharePoint, Amazon S3, and databases.
- Send extracted data to destinations like Postgres, Snowflake, Salesforce, or Slack.
- Automate multi-step processes after extraction, such as matching invoice data to transaction records in another system.
A dedicated Workflow Builder Quickstart Guide walks through a complete example: email trigger → extraction agent → Google Sheets.
Next Steps
Workflow Builder Quickstart
Automate document ingestion and data delivery end-to-end.
API Reference
Integrate extraction programmatically into your own systems.
Core Concepts
Understand table types, pipelines, and the async run pattern.