Workflows Quick Start Guide
Prerequisites: Complete the Extraction Agent Quickstart first and have at least one extraction agent ready before following this guide.
Overview
The Workflow Builder connects Cloudsquid to thousands of tools and services, allowing you to automate end-to-end data processes. Workflows are only available for our paid users. If you’re interested in a Free Trial you can fill out the form that will appear when you click on this feature. In this quick start, we’ll build a workflow that:- Starts with an email trigger that captures an attached invoice.
- Processes the attachment through an Extraction Agent, which is an Action node
- Sends the extracted data to a Google Sheet.
1. Create a Workflow
Workflow are containers for your automated process.- In the left-hand panel, go to Workflows.
- Click Create Workflow.
-
Give it a clear, descriptive name so you and your team can identify it later and hit Save
2. Add an Email Trigger
Email is one of the most common sources of incoming documents for a business. The Workflow Builder lets you build email Trigger in two ways:- Direct integrations with Outlook or Gmail, where you set conditional triggers.
- Managed Cloudsquid inbox, which generates a unique email address for automated ingestion.
-
Click Add Trigger → choose the Email node from the Cloudsquid native nodes.
-
In the Email node settings, click Save and Continue to generate your email address.
- Copy this address and send a test email to it from your separate email account with an attachment (e.g., an invoice PDF).
-
After 20–30 seconds, the email appears in the node’s Outputs. Click the “Email” output to see available data.
3. Add an Extraction Agent Action
Extraction Agents process and structure your document data. You should have one ready from the Extraction Agent Quick Start Guide.-
Click the + after your trigger → choose Extraction Agent from the native nodes.
-
In the settings:
- Extraction Agent ID – choose your pre-created agent.
-
File content – in the data viewer, search “attachments” and select the
contentUrlvalue.
-
Filename – search “attachments” and select the
filenamevalue.
-
Filetype – select
urisince we access this file via its URL link -
Mimetype – choose the correct type, e.g.,
application/pdf. -
AI Model – choose cloudsquid-flash for speed and lower cost.
- Click Test run Node to verify extraction. Results will appear in the OUTPUT viewer.
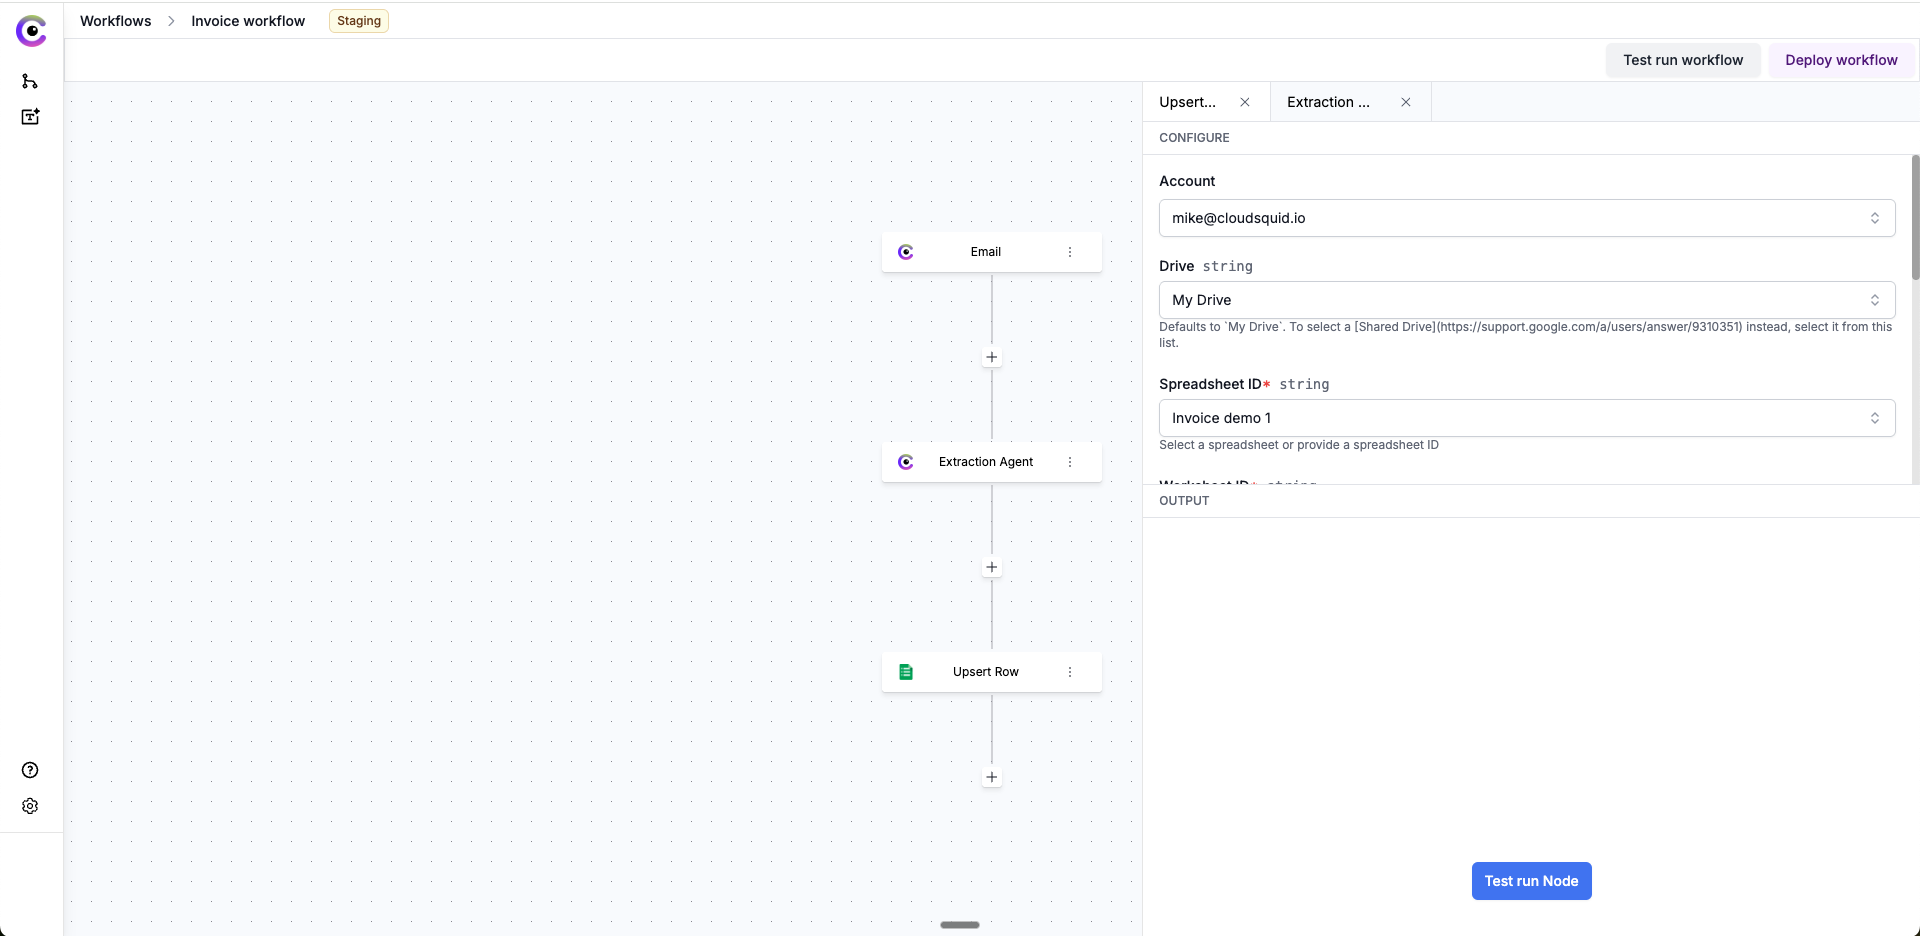
4. Add a Google Sheets Action
We’ll now send the extracted data to Google Sheets:- Click the + after the Extraction Agent node → search for Google Sheets.
-
Choose the Upsert Row action (adds new rows without overwriting existing data).
- Create a blank Google Sheet (e.g., “invoice demo”) in your Google account.
-
In the Google Sheets node settings:
- Authenticate with your Google account.
-
Select the Drive, Spreadsheet, and Worksheet.
-
For Insert – Cells / Column Values:
- Click Manual List and use the data viewer to pick fields from the extracted file (e.g., vendor name, invoice amount, invoice number).
- Click Add after each field selection.
-
Key Column – enter
Aso rows append from the first column.
- Click Test run Node to push data into the sheet, then check Google Sheets for results.
Next Steps
Connect Outlook
Route emails from your Outlook mailbox directly into Cloudsquid projects.
API Reference
Trigger extraction and reconciliation programmatically via the REST API.